We paint the walls in stripes
During the renovation of an apartment or house, there is often a desire to somehow diversify the walls of rooms. A good option would be to paint the walls in two or more colors, alternating them with vertical or horizontal stripes. The method, as simple as it is effective. Even with little personal experience, the correct selection of colors, tools and adherence to the dyeing technology promises a good result. But for it to take place, you need to clearly understand how to paint the striped walls in the most rational way and avoid mistakes.
Methods for forming a multi-color pattern on the walls
The expected effect can be achieved by the following methods:
- The correct choice of primary colors: they can be contrasting, or they can be next to each other on the color wheel. After all, they can be just white and black.
- The combination of the texture of the painted surface. For example, the lines are the same color, but one is shiny and the other is matte.
- Relative location - horizontal, vertical, difficult angles.
Each of the described techniques has its own areas of rational application, breaking which you can be captured by bad taste, and it will not be easy to eliminate it.
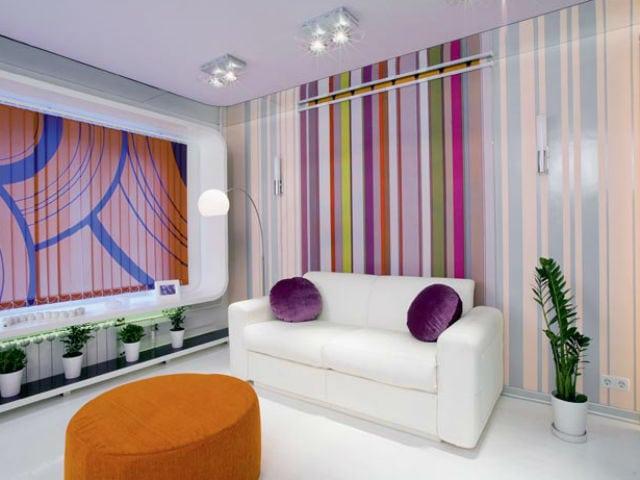
Going along the path of choosing contrasting colors, you should consider which room will be painted. For example, for a bedroom, this path is undesirable, since it will lead either to dullness of the walls, or, conversely, to an exciting effect, which is completely inappropriate for a bedroom. But for a children's room, it does not interfere with experimenting. Moreover, if your children take an active part in this, an optimistic perception of the "striped" room is guaranteed.
The combination of a smooth and rough surface of the same or similar tones is a rather complicated method, since it will require the use of two paints that are completely different in their properties. This will significantly slow down painting. In addition, in this case, it is especially important to choose a good combination of tones. They should still differ slightly from each other, and the rough strip should be darker than the glossy one. In this way, you can, living room, dining room. 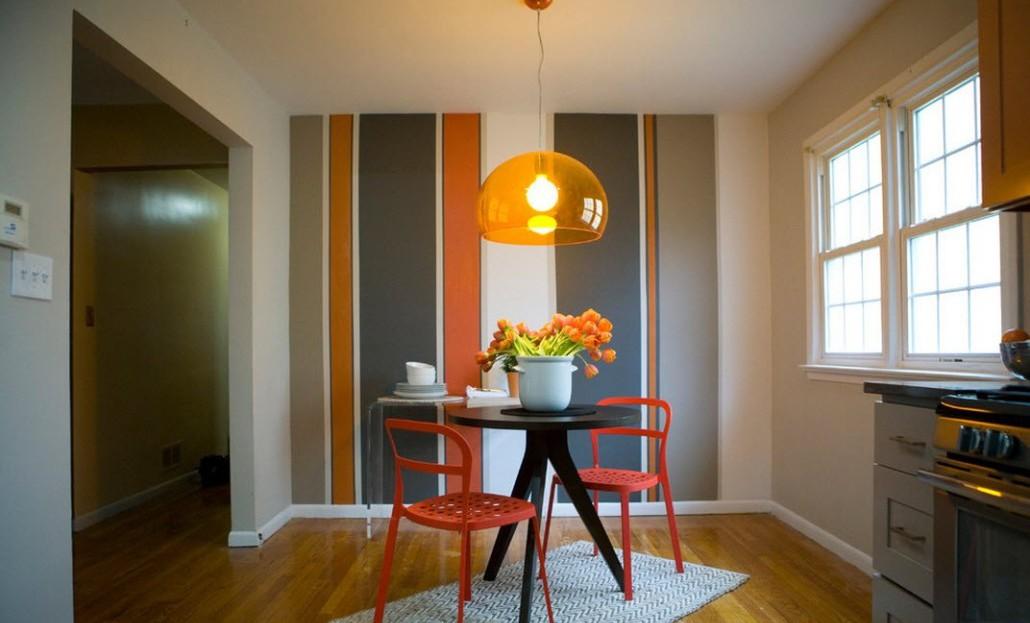
In turn, the choice of tone depends on where the windows of the room face: if on the sunny side, then the tones should be "cold", if on the north - on the contrary, "warm". Naturally, it is imperative to take into account the color scheme of furniture, interior doors, curtains, window openings, etc.
The direction of the lines is determined only by the relative dimensions of the room. For rooms proportional in size, the choice does not matter (in this case, you can try the angular arrangement).
For low rooms, the stripes should be placed vertically, and for long and high rooms - horizontally. The color is also chosen depending on the cardinal points where the windows face. Alternating stripes of different widths will give a similar effect.
Preparation period
The preparation consists of the following steps:
- Selection of the type and color of paint.
- Preparation of painting tools.
- Preparing walls for painting.
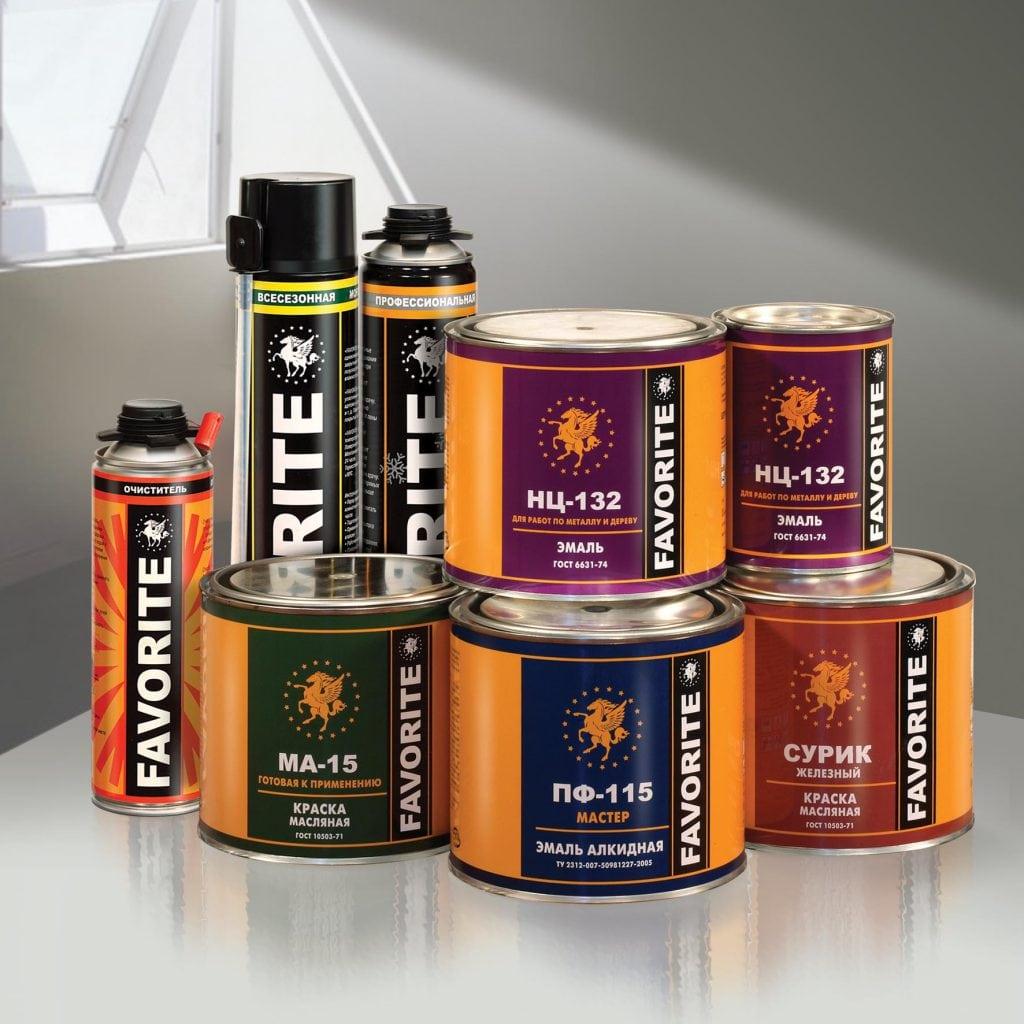
For the formation of stripes, any paints intended for use in interior work are suitable. The least successful option is to use oil paints: their piercing gloss will not make your room look "retro", but it will noticeably slow down drying. Oil paints are quite demanding on the quality of their application to the walls.
Enamel-based paints are more suitable for gloss: they dry quickly and do not leave unattractive brush marks. In general, to obtain stripes, the main tools will be paint rollers of different widths. The dullness of the walls will be provided by coloring compositions based on water emulsions.
For painting you will need:
- tape measure or locksmith's ruler to determine the desired strip width;
- level, to check the horizontal / vertical lines;
- a set of hard-bristled paint rollers (there should be at least three rollers);
- measuring cord, with which you can "beat off" the strip marked on the wall;
- spatula for cleaning irregularities;
- masking tape (you can also use strips of parchment paper);
- set of decorative buttons;
- colored chalk.
Before starting painting, the walls are thoroughly cleaned of dirt and dust. If there were previously wallpaper on the walls, then surface irregularities are removed with a spatula, and the depressions are carefully putty. For this, it is better to use an acrylic finishing putty: in this case, there will be no unnecessary paint consumption. The wall prepared for painting should be of a light tone. This is important because otherwise dark spots may appear where streaks of lighter shades are outlined.
After the wall is ready for painting, it is necessary to mark it. If it is intended to be painted with stripes of the same width, then the actual size of the wall should be divided by the selected stripe width. In most cases, an integer will not work.
Here you can do two things: either correct the initial thickness of the strip (usually it will not change much), or, knowing where on the wall there will be permanently high furniture, deliberately violate the width of the strip by making one of them thicker / thinner. By the way, this method can be turned into an artistic technique if a strip of a different thickness is alternated with the usual one at a certain distance.
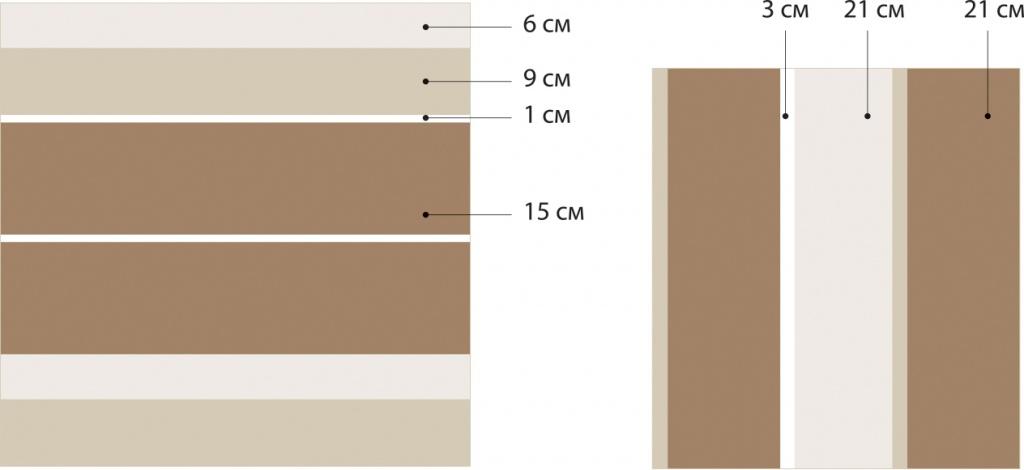 The scheme of alternating stripes of different colors
 When determining the optimal strip width, it is worth remembering that stripes less than 20 mm and wider than 300 mm are not very well perceived.
The most careful, but always successful option is to draw a wall to scale on a sheet of A4 or A3 paper and draw all the desired stripes on it. This will be visual and subsequently help to avoid mistakes in staining.
Strip technology
Having decided on the base color (it should always be lighter), the coloring process begins. The paint is applied with a paint roller, and, with the subsequent vertical marking of the stripes, the direction of movement of the roller should also be vertical (and vice versa).
After waiting for the painted wall to dry completely, they begin to form the actual stripes. The marking is performed using a level and a ruler and making marks with a measuring cord, on which a layer of colored chalk is applied (the tone should correspond to the main one).
Strips of adhesive tape are glued along the lines. There is no rush: firstly, the structure of the baseline will be violated, and, secondly, the stripes may turn out to be uneven. The entire surface is pasted over with adhesive tape, from floor to ceiling.
Having picked up a roller of the required width, strips are made with it. The number of passes will be determined by the contrast of the second color - if it is small, then you can form a strip in one pass of the painting tool. When the whole ornament is ready, you should carefully remove the tape from the wall.
As you can see, the process of getting stripes on the wall is quite simple. The main thing is not to rush and carefully choose the colors that are optimal for a particular room. Indeed, in each room of the apartment, the stripes can be different.
 Country house facade design: a variety of stylistic trends
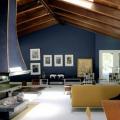 Wooden ceilings - 25 interior examples
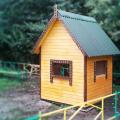 How to make a children's playhouse with your own hands