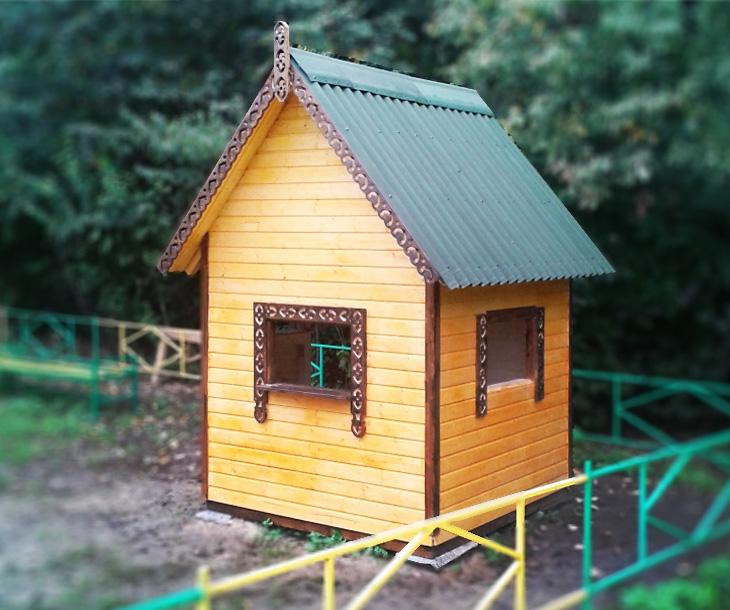
How to make a children's game lick with your own hands
Tools and materials for the manufacture of a children's game house
Sizes of my gaming house: 160 × 160 × 140cm on the walls. The height of the skate is 90cm. Material consumption is indicated on the basis of these parameters.
Frame and gender:
- block foundation 20 × 20 × 40 - 4pcs
- fastener reinforced 70 × 55 - 20pcs
- fastener 90 × 40 - 22pcs
- corner connector 145 × 35 - 11 pcs
- bar 60 × 40 × 3.0 - 11pcs
- board floor 135 × 28 × 6 - 4pcs
Walls:
- lining 12.5 × 90 × 3.0 - 4 Packages for 10pcs
- paint "Versere Utina" "Pine" - 2.7l
- paint "Veres Ultra" "Walnut" - 0.9l
- coolband 90 1.8m - 2pcs
- front carved 90 3,0m - 1pc
- corner 60 × 60 FIG / Smooth 20,5m - 4pcs
- furniture shield 140 × 20 × 1.8 - 2 pcs (on window sills)
Roof:
- bar 50 × 50 × 3.0 - 5pcs
- edged board 25 × 130 - 0,17m3
- ondulin - 5 sheets
- horse Ondulin - 3 sheets
- box holder 210 - 6pcs
You will also need to work nails, screws and some referencer. The final value of the necessary materials personally was about 17,000 rubles.
How to make a children's game lick with your own hands
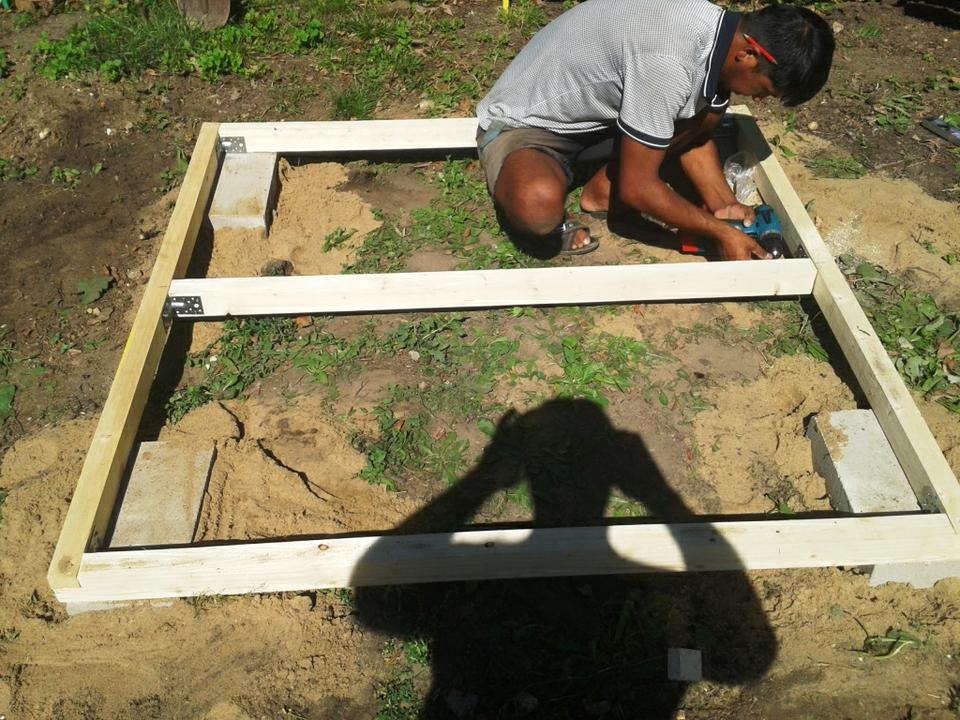
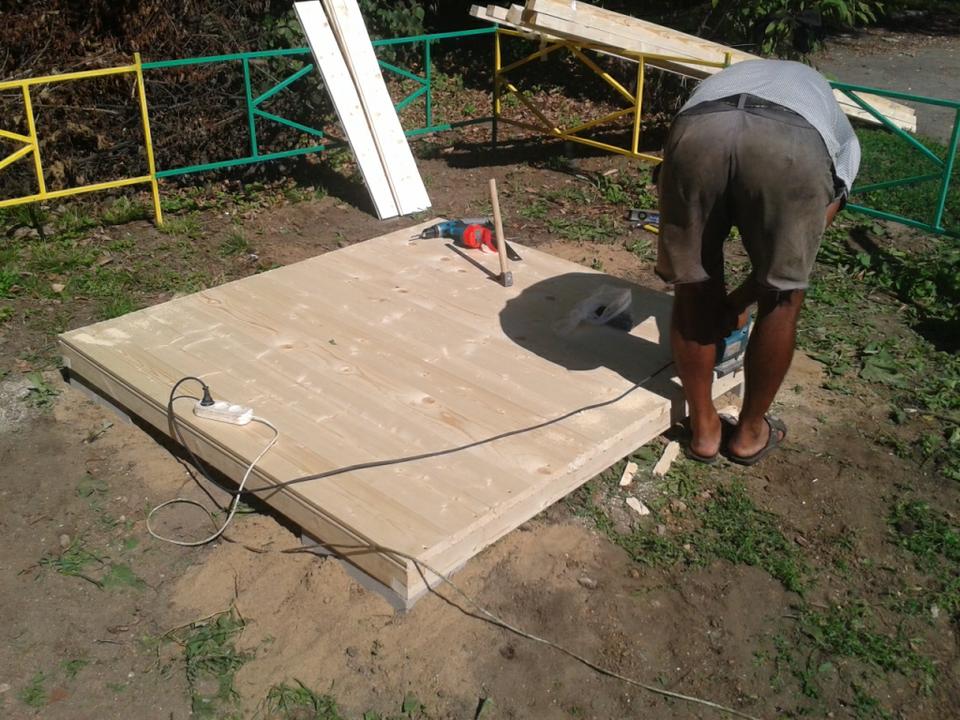
Work on the construction of a game house is starting from the floor frame. We mount the base, align diagonally, enhance the medium beam and metal corners.
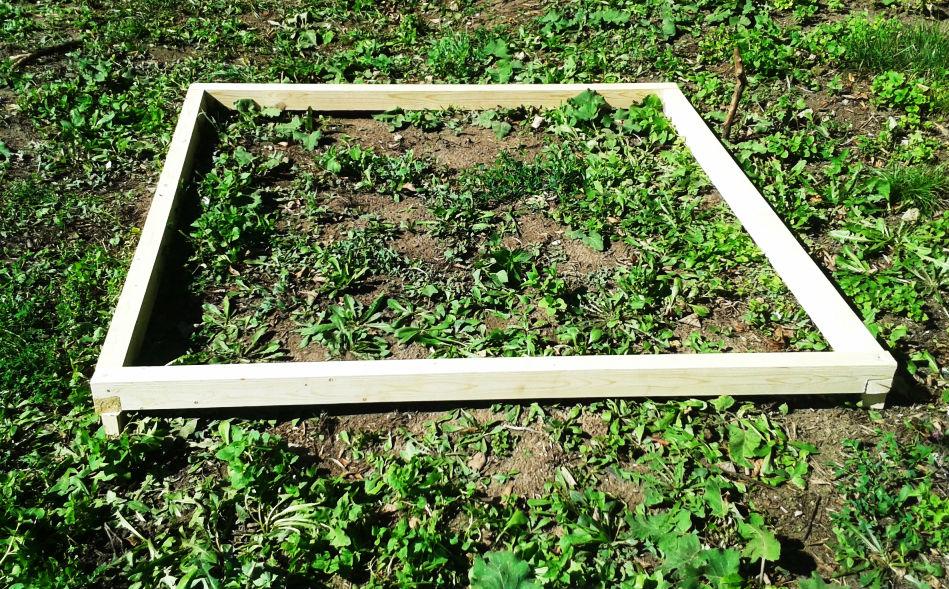
Select a flat place for the house and with the help of a frame, we mark the 4 angular points required for the improvised foundation.
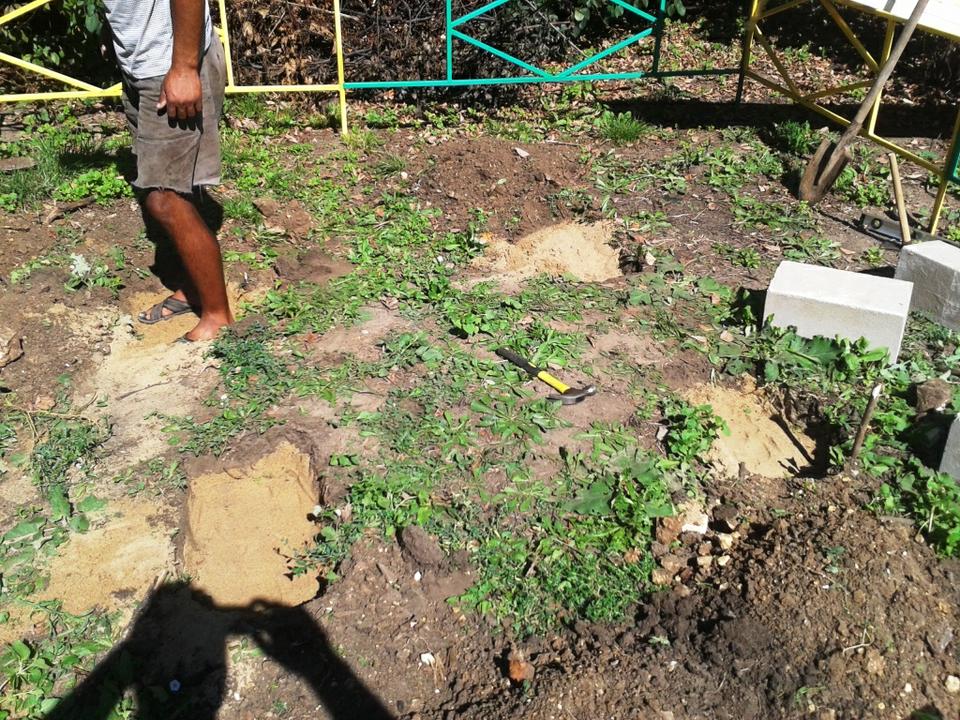
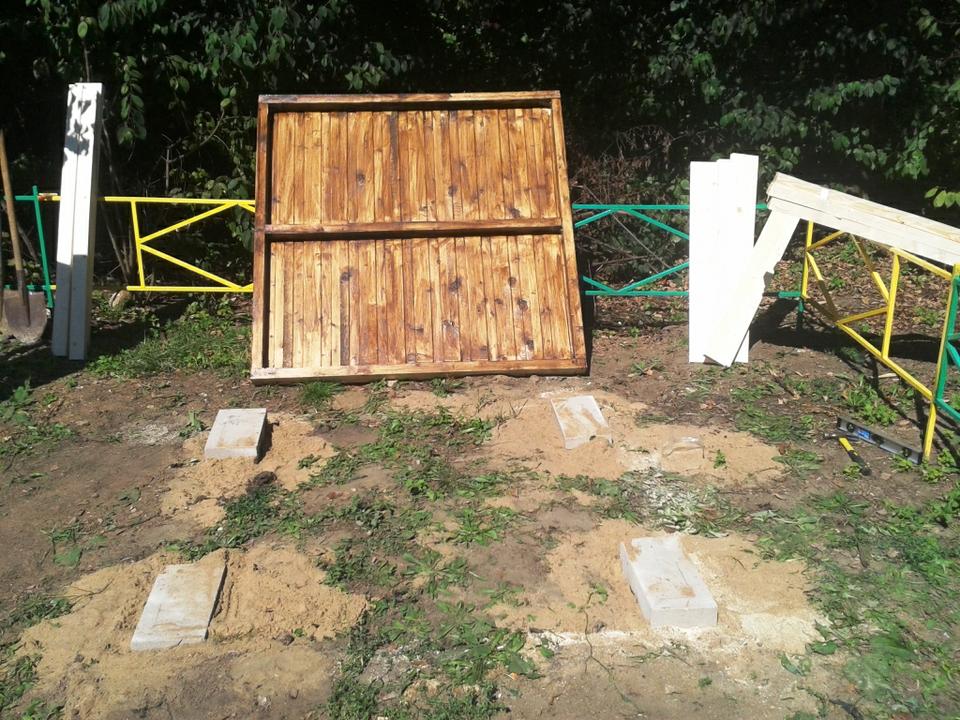
To give a house a large stability of the floor frame, lay on 4 foundation blocks. Blocks exhibit in the level of sandy bed in recesses on 1 bayonet shovel. Between the frame and the foundation lay the waterproofing layer.
We sew the framework of the floor by boards to get a strong, smooth floor.
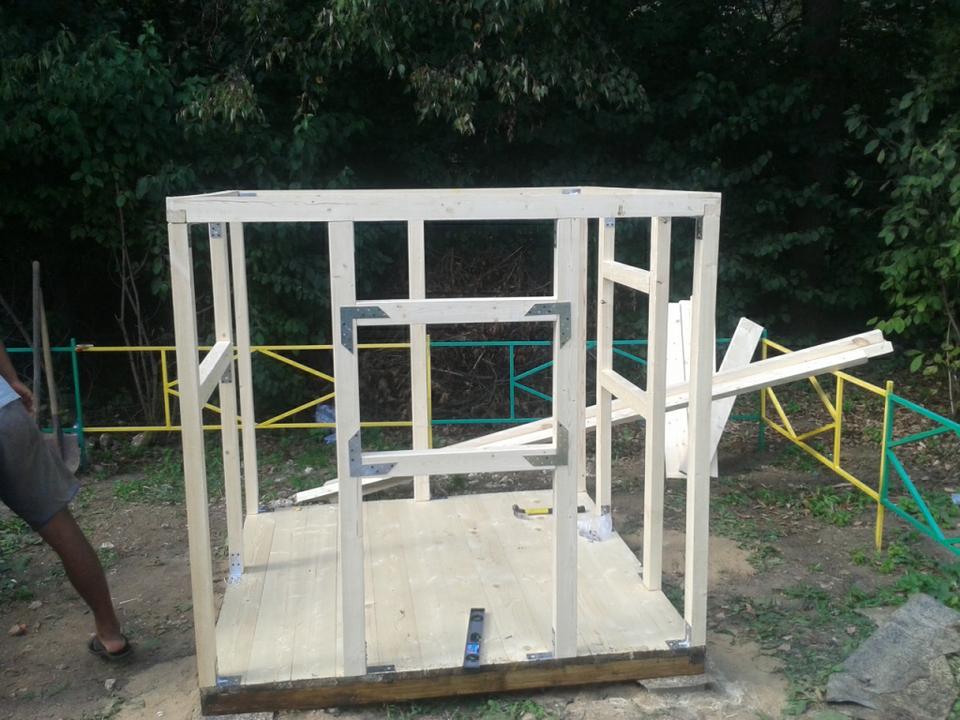
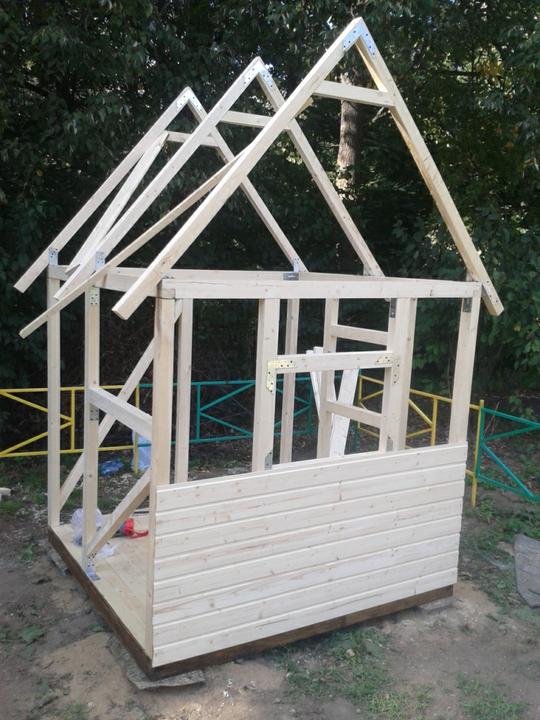
When the floor is ready, we proceed from the ground, proceed to the mounting of the wall frame with windows and the entrance.
Important: So that children do not receive offices and cuts, only the fuglass material should be used and removed all the chamfering at open corners: on the frames of the frame - the plane, on the metal corners of the amplification - the grinder.
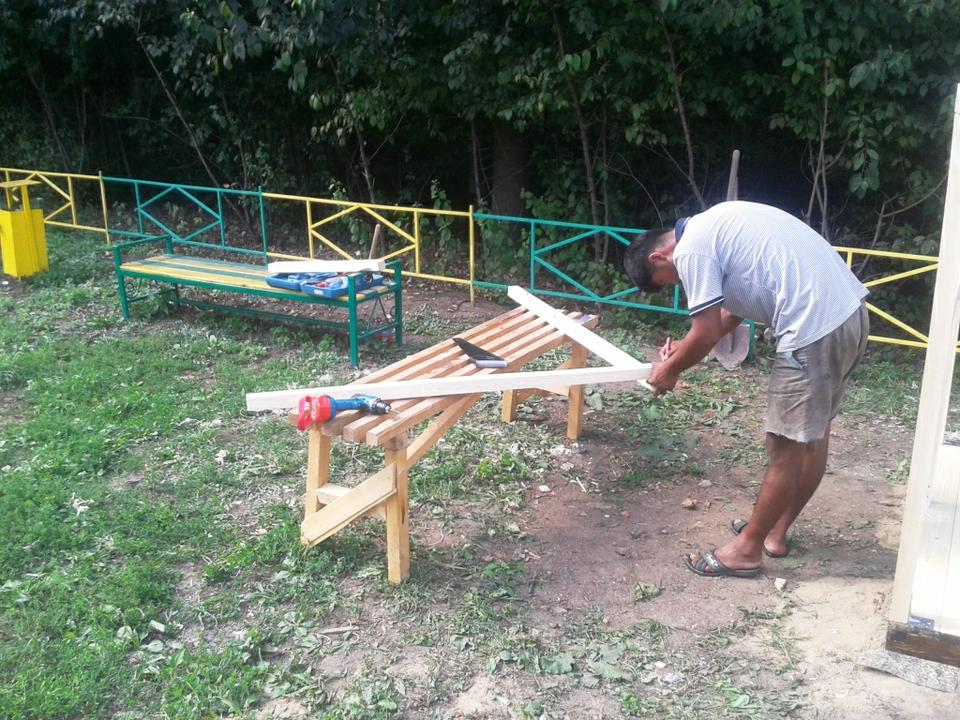
On the working surface, placing the rafted pattern. I caught a bar of rafters to the working surface (to kill 2 nails, but not to the end, leaving the gap to remove nails). After that, we enhance the editorial and cut through the pattern, strengthening all the corners and joints, and only after that we remove temporary nails.
The finished rafters (3 pieces) are intimidated to the temporary stroke frame (inclined backup bar), exhibit on a plunder, and then connect with metal beam holders with the framework of the walls.
When the frame is ready, you can proceed to the clamping with the clapboard.
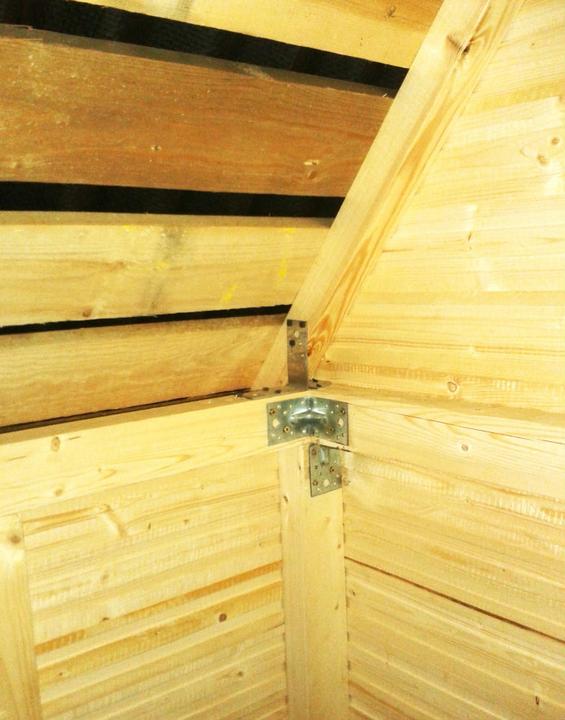
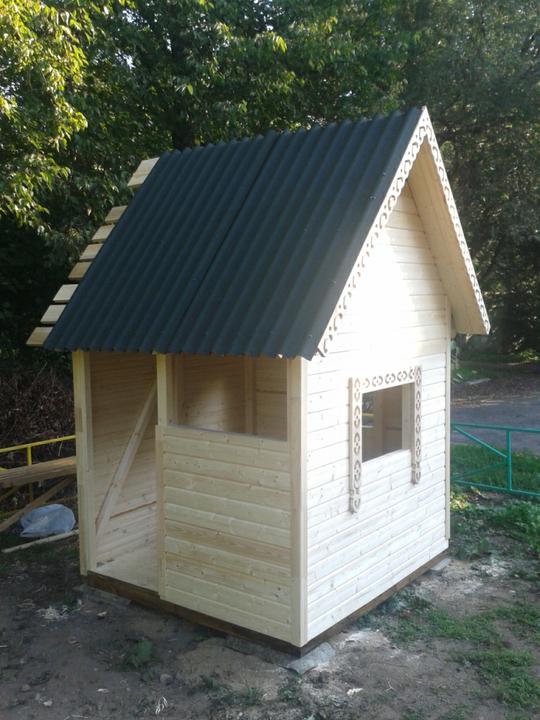
Following the walls, we enhance the roofing board - sew the boards from the skate on both sides, we remove the temporary dashes and then we firm the nearest roof. Crow the Ondulin and mount onduline bitch. By the way, cutting ondulin is very comfortable with a grinder with a cutting disc.


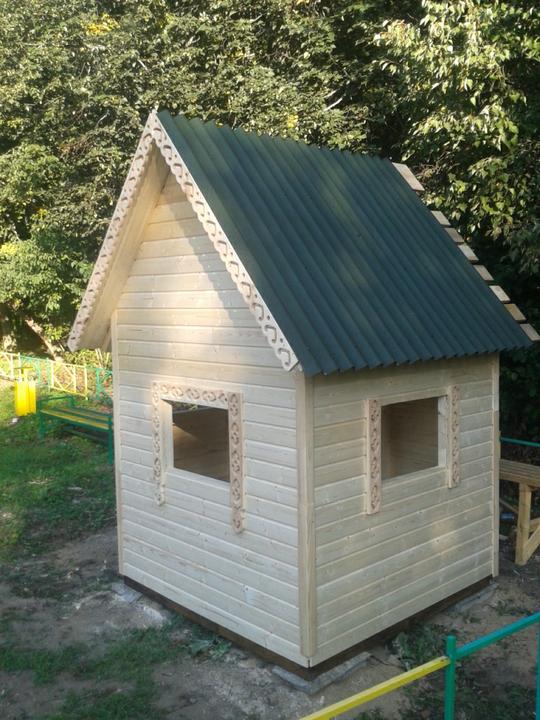
Since our house should be children, elegant and positive, the end of the roof and window openings are decorated with carved platbands, which can be purchased in the ready-made form, cut the window sills, the corners of the house are sewn to the corner curly smooth.
Inside the house do not forget the organizer of several tables and benches for children.
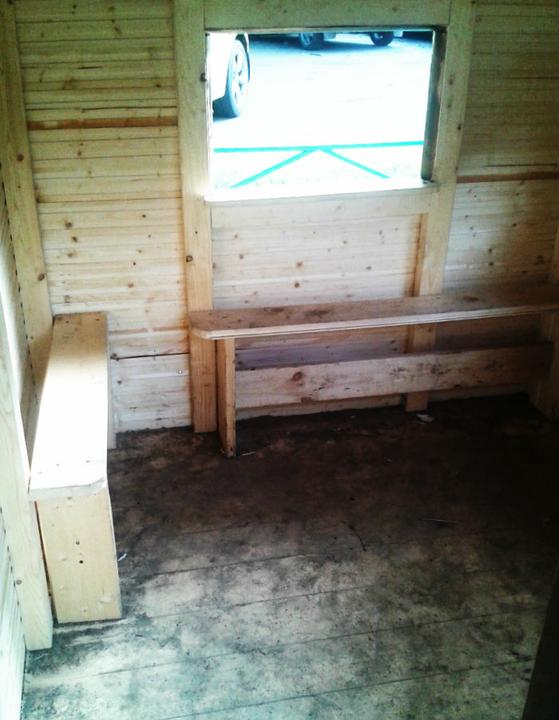
In general, the house is ready, it remains only to paint it into bright colors and show children!
 Alignment of walls
 Green curtains for calm in the house
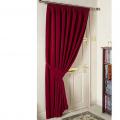 Curtains on the doorway