4 ways to level the walls for internal finish
Quickly loses its initial appearance, and will have to again. In order to save time and money, it is better to immediately align the walls. What method of lining the walls is better to choose and how to spend all work?
Evaluation of the surface of the walls of the walls
All methods of alignment of walls are divided into two fundamentally different groups.:
One way choose, taking into account the degree of irregularities of the walls, Therefore, this stage is especially important. How uneven walls can be measured laser level or ordinary building level.
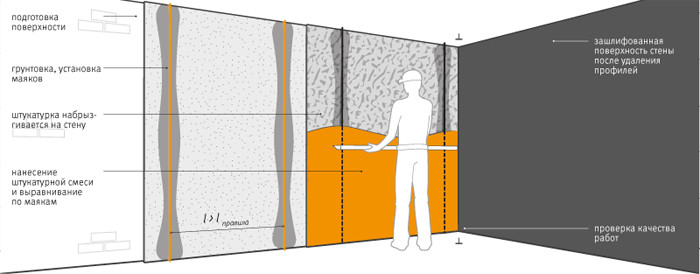
Sequence of work It looks like:
- preparation of the surface of the walls. In order for the leveling mixture to keep, the wall must be properly handled. First, all the remains of the old coating are removed, then the priming is carried out for better adhesion with the layer of plaster. Under cement formulations use primer from a solution, and water, the so-called cement milk, it is better to use a special place under gypsum plaster;
- if the layer of plaster will be more than 2 cm, then at this stage it is better to use the reinforcing plaster gridwhich will not allow the composition to crumble. It is worth noting that if you enjoy the finished factory plastering mixture, it is worth paying attention to the composition: some manufacturers use polymer additives that are so increasing the strength and degree of adhesion of the solution that the grid may not be needed;
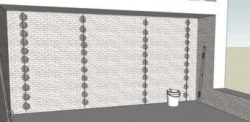
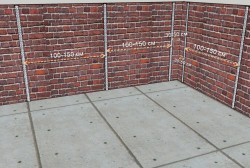 Installation of Mayakkov. As lighthouses that become a target of creating a smooth surface, wooden rails or a perforated metal profile are used. The latter will be more convenient for beginners, since such lighthouses do not have to remove after easy solidification of the plaster layer and then mask the recesses. At first, two lighthouses are mounted in the opposite ends of the wall, while the beacons are fixed with a gypsum solution of the necessary height until the ideal vertical achievement. There are three cords between the two beacons: at the top, in the middle of the wall and below, and already focusing on them set intermediate lighthouses so that they slightly touch the cord. The step between beacons depends on the size of the tool to which the plaster mix will be recreated (usually use the rule). In any case, the distance between the beacons must be 20 cm less than the length of the instrument;
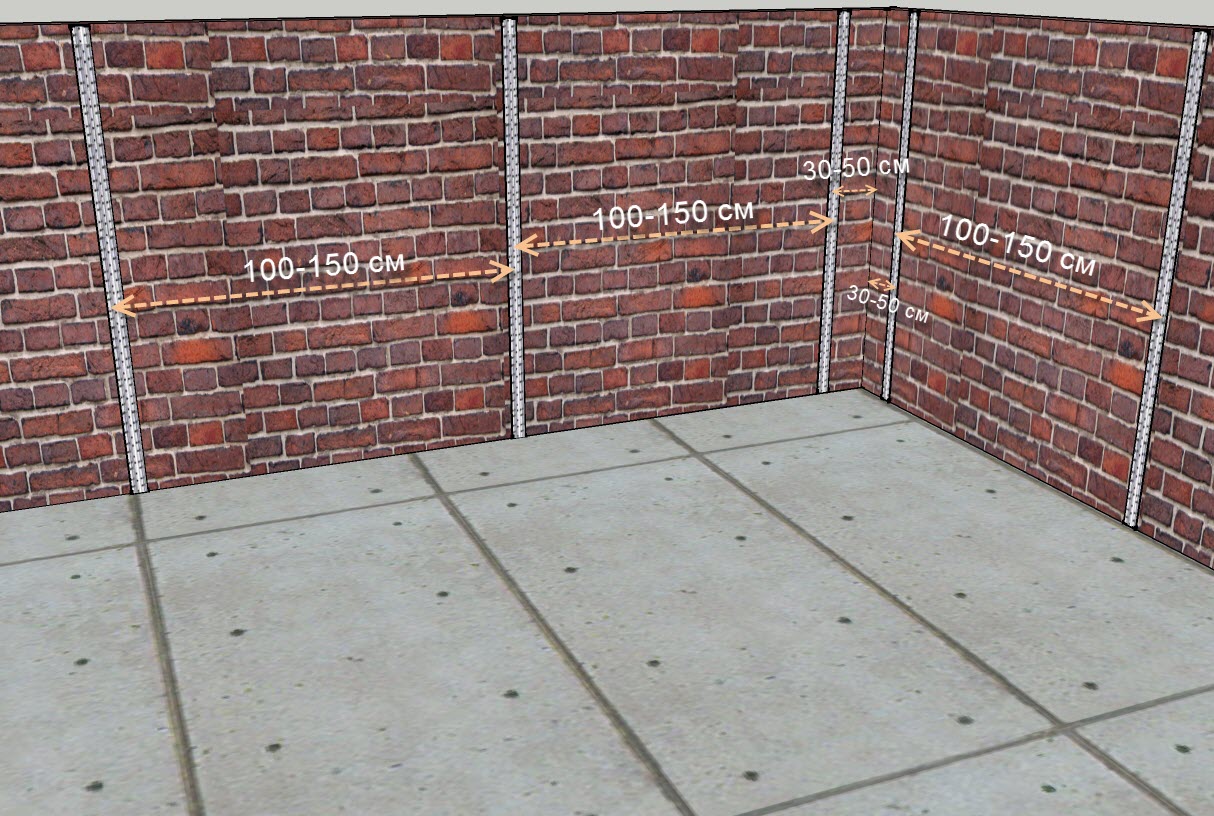 In a wide range you can find in building stores. At the construction site, it remains only to make a solution correctly, following the instructions. Cement plastering solution can be prepared independently: cement and sand is mixed in a 1: 6 ratio, then water is added to sour cream-like consistency. Some experts recommend adhere to the ratio of components 1: 2 or 1: 3, the finished mixture is obtained more plastic, and therefore more simple in circulation. The finished solution is used within 1-2 hours until it started to stick;
 Applying plaster. To do this, you can use "Falcon" and a trowel. The first is gaining a mixture from the tank, the second pinched it into the wall in excessive amounts. Using "Falcon", a tool similar to a trowel, but superior to it in size, allows you to increase the speed of work. Now it is necessary to the rule evenly distribute the solution from the bottom up, relying on the lighthouses. If the aligning layer is thick, then you can first apply a rough plaster, and after drying it, apply the main one with alignment by lighthouses. If wooden rails were used as the latter, then when the solution serves a little, they need to be accurately removed, the cavities fill the plaster and dissolve the spatula;
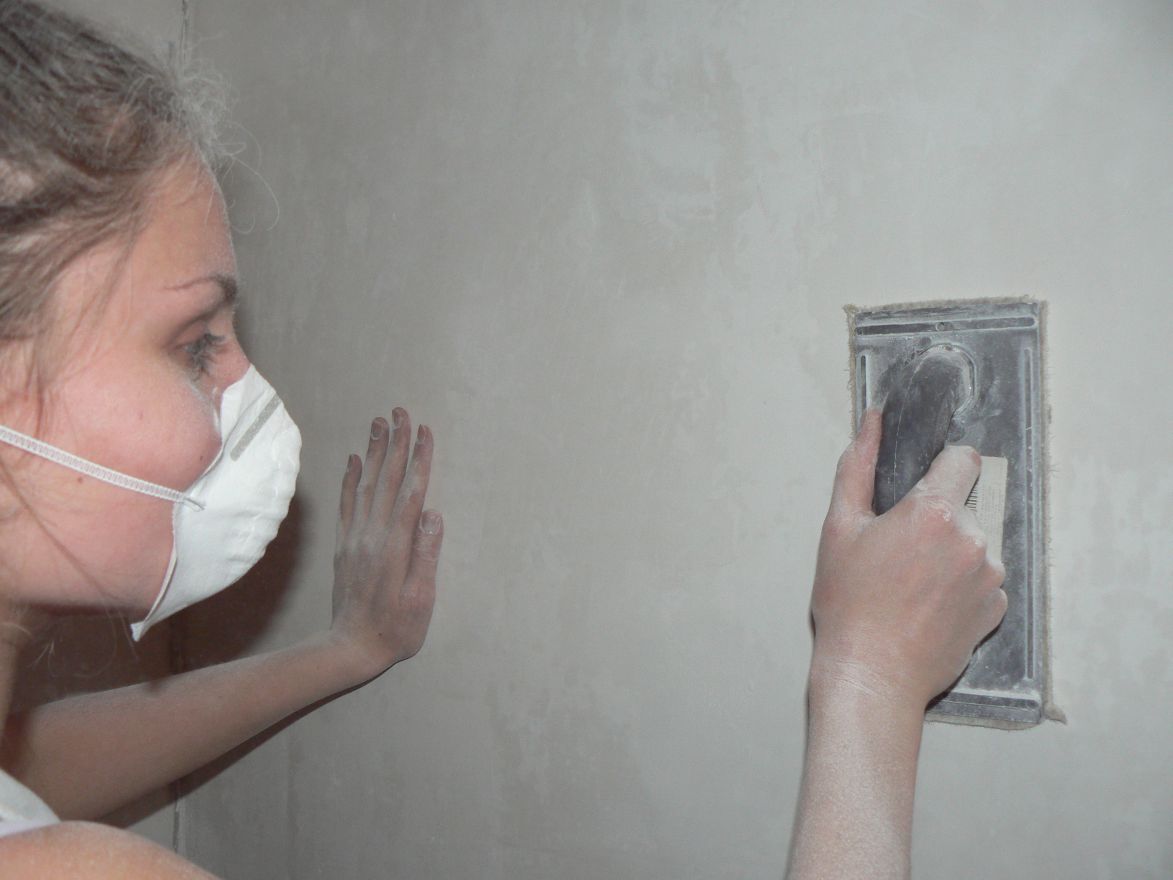 After drying the plaster, we get a flat, but rough surface. In order to make it smooth, you must apply thin layer of spacure, and then collect the surface of shallow emery paper.
The main advantage of this method of alignment is the maximum preservation of the useful area of \u200b\u200bthe room. Cons conclude in the complexity of the process, the need to prepare the basis and presence of a large amount of dust.
№2. Alignment of walls putty
Nevertheless, do not forget that such a way of aligning walls takes a lot of useful areaAnd if she is in short supply, the room risks turning into a hole. Walls covered with plasterboard sheets will be able to withstand a smaller load than what was aligned with plaster. If we are talking about a room with high humidity, you should use moisture-resistant sheets of plasterboard.
Sequence of work:
 Framework. It may consist of or metal profile. The bar does not allow to achieve the desired durability of the frame, is subject to the influence of moisture and microorganisms, so in most cases today are used guide and rack metal profile.
The first two profiles are fixed to the floor and ceiling.
On the floor, using a level, a flat line is carried out at a distance of 5-6 cm from the wall (you can and more, if the curvature is large or you need to hide communication).
With the help of a vertical plumbing line tolerate on the ceiling.
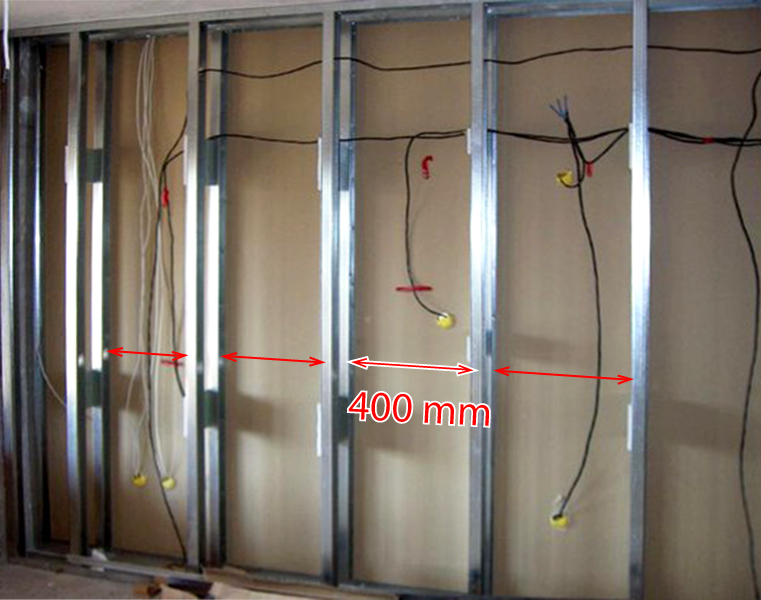
At the received lines, the guide profiles are fixed by self-tapping, constantly checking the evenness of their level using a plumb. Meets, perpendicular to them, the carrier profiles are fixed along the wall. The distance between them is 40-60 cm for plasterboard sheets 120 cm width;
 Facade design of a country house: a variety of stylistic directions
 Wooden ceilings - 25 interior examples
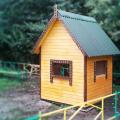 How to make a children's game lick with your own hands