Pocket reactor - homemade catalytic warmer for hands. Warmer for hands from * simple pencil * How to make a boat for legs with your own hands
Look a fascinating video plot about homemade coal warming. You can make it any master, because to work on this craft you do not need any special or expensive materials and tools. We need a stainless steel tube, a metal mesh, a copper coin 3 and 5 kopecks of the USSR, which can be replaced by other disks of the appropriate size from copper or its alloy. To power this uses coal rods.
In the network you will find a lot of descriptions of catalytic heaps, which have one unpleasant property - they highlight an unpleasant smell. This device does not have absolutely no sharp smell, it is very easy to make coal rods for it. When combustion, carbon monoxide is highlighted, but its number is slightly, if the heating was used on the street. It will be useful to fishermen fishermen, travel lovers in nature, etc.
How to make coal briquettes.
For the manufacture of fuel briquettes you need to take coal, preferably small. Such coal and coal dust you could see at the bottom of the packages for the grindes of mangals. In our case, it is ideal for placing it in an electrocaveler. If there is no coal, you can always dial the coal after the fire. Large corners can be arched by placing them into any paper or other package and beat into a hammer. You also need a sieve with an average mesh and a container. Silicate is also needed, that is, the stationery glue that needs to be dissolved with water 50/50. If you mix this liquid with the coal powder, the casual substance will be. Next, you need to take a 20-cubic syringe to trim it on one side.
Rods need to do a little longer than the length of the syringe. It is desirable that when squeaking it out of a syringe, he does not fall apart. After the briquette is dry, the rod is extracted.
One side of the briquette is inspired to the crust and it became possible to soak the composition for ignition checkers.

The impregnation consists of potassium nitrate and water or sodium nitrate and water. This improves the span, although it can be done with a simple match or lighter.
Coal rod perfectly smolden. He must do it very slowly for an hour. The combustion time depends on the tree breed and the amount of added liquid glass. With this coal, you can warm your hands at a distance without special devices. The heat is so strong that infrared radiation from it can cause burns. To prevent a fire that burned, it would seem, a briquette, you need to lie down with water, because it can flared up without visible signs of fire.
Without a shell, such a briquette is smolder faster, the fire diverges along the outer surface. In the housing it is tweet for a long time. This is due to air limit. If it is tweaked in an open form of 1.5 hours, then in the case it will delay for several hours.
Next, how to make a tube for placing coal. In the lid, the master stuck specially ventilating hole for carbon monoxide. From the wire bent the spring to hold the lid. On the bottom there are also holes for ventilation. The rate of combustion of the briquette and temperature depends on their diameter and quantity. Also, for ventilation, a grid has been put in the tube, which the master deleted (below the explanation) subsequently.
After testing the coal heating, he remained after the briquette only ashes.
For improving the heating, the master drilled holes in the bottom from 1.5 to 3 mm to increase the arrival of air. The grid was also removed, since the distance between the walls is too small, which prevents air movement. Worked the heater on the corner for about 5 hours, maintaining the temperature of about 50 degrees. During her work, it was necessary to open the lid, since the ventilation was not enough.
It is recommended to put the mesh over the coins so that the ashes do not blocked the ventilation windows. The grid should be set so that the rod is inserted into it and the distance from the mesh to the wall of the tube was 3 mm. That is, the inner diameter of the tube must be made by 6 mm larger than the grid diameter. In addition, it is desirable to chop holes on the lid so that the carbon monoxide can freely go out. You can also make a scrolling in the form of a slider to adjust the temperature of coal combustion and, respectively, the heating surface. If you smoke the tube with a cloth, then the aggressiveness of heating will decrease.
You can pay off the device, bumping hole.
Frozen legs? Hehe! The reasons for the emergence of this unpleasant feeling and methods of struggle mass. Vodka, boots, or even on the picture above.
But we will go to another, our - with the use of mixtalk and electricity!
Somehow came to visit my good friend. We sat, drank ... no, not beer, - coffee. I look, and it is in thick socks and warm slippers. I giggled: "What, a wife does not warm?", And he says: "We go to the office, you will look. Maybe you will advise. " Go to the Cabinet. Normal, warm. I look at him: "And what?". "No, says, you stand here." Got up. Really, very cold gender! I must say, this winter we had a very frosty in Ukraine. And he, it turns out when did the repair, made a part of the room from the balcony. But his neighbors floor above and below and left balconies. Accordingly, the floor and the ceiling is exactly where the desk is standing and remained cold. That is, the room is warm, but the floor is cold.
We thought with him and came to the conclusion that to remove the parquet and shoot down the screed in order to lay a warm floor, not worth it.
You can make a heating footrest! Sella, put the legs, - warm, comfortable! Beauty! Such a device saw in supermarkets at the cashiers, so that the idea is not mine.
On that and shaped. The week went into search of a suitable case. She climbed the Internet along and across, - nothing worthwhile.
And the appropriate body found at home in the storeroom! Guess what? For nothing guess! .. This is a stand from a huge LCD TV, which I connected to one client!
The telik was suspended on the wall with a special bracket, and the native stand was unnecessary. He wanted to throw it out, and my hand did not rose to throw out almost the glquine plastic with a protective film! Plus as much anodized steel 2 mm thick.
Well, I know Plushkin! : blush:
Por I am this stand home (and she is heavy, infection) and thought can really throw it into the nearest garbage, but did not throw out. So came in handy.
Here it is in the photo.


Photo 1. Stand (still) from the TV.
I found in my bins flexible TEN by 220 in a length of 5 m, with a diameter of 3 mm. His power already has as much as 80 W. The most thing!

Photo 2. TEN.
Stuck it in the outlet. TEN was heated approximately 60 degrees. Multimito. But, perhaps, while it warms it, it will be fine. We'll see.
From the 1-Milmeter Dural Plate, the base was cut out the base of the inner contour of the upper cover, all the necessary holes saw off.


Photo 3. Base.
Then he took a TEN and, finding him the middle, evenly secured him on the basis of aluminum scotch strips.

Photo 4. TEN based on.
It turned out quite evenly. And most importantly, the length was enough, as if the Ten was for this and was made!
From above, the TEN stuck with a solid stratch of the tape for uniform heat distribution.

Photo 5. Baked Ten.
Since the plate will be located ten down, it is necessary to make thermal insulation so as not to warm the lower steel cover. To do this, I used old fiberglass, removed from the dismantled pipes of the heat mains.
Cut 2 pieces of fabric on the contour of the plate. I think it will be enough.

Photo 6. Heat insulation.
From above, everything was glued with aluminum scotch.

Photo 7. Heat insulation is ready.
This side is down the heater will be installed in the upper cover of the stand.
Now you can collect, connecting the network cord.

Photo 8. This is the device turned out.
In the middle there was a hole in which the TV bracket was inserted. I was covered with a plug, peeled out of a piece of white plastic and painted in black color paint.
Here in this form of the heater and was given to a friend on beta testing.
A week later he called and reported testing. It turned out that the device is still overheating, which I was afraid. We have to embed the thermostat.
Since I have long been lying the refrigeration thermostat, and the new one was a knee, I decided to use it.

Photo 9. Disassembled thermostat.
It turned out that in this form he height would not enter the heating hull. I had to disassemble. Separately, a board with a display, buttons and a microcontroller, a separate power supply, relay and clermets for connecting sensors, power and compressor.
The plastic plug cut the hole to install the display. The rest of the part mounted under the bottom in the plastic box.
He covered foil and attached the sensor to the base plate with a metal clamp.

Photo 10. Plate temperature sensor.
Well, everything seems to be. I connected everything according to the scheme, I collected and turned on the network for final check. Left overnight. The temperature did not rise above the installed. True there is some inertia. The temperature continues to grow after the Tan is turned off approximately 2.5 degrees. But it is really not felt.
The rubber warmer is filled with hot water. Then it turns into several layers of the fabric and applied to the patient. Contraindications for the use of heating plants are bleeding, sharp pain in the abdomen, purulent processes.
There is also a chemical warmer. It differs from the rubber in that it should not be filled with water. For use, it is enough to flush several times. It contains a special chemical composition, which is heated independently. Such a heater is very convenient in the campaign or fishing, because it is light and small in size.
The electric heater is very convenient to use. Many prefer it because of the possibility to adjust and save the temperature for a long time.
Salt boards. Contains sodium acetate and applicator. In this applicator there is a special solution, which, when inflexion, enters into a chemical reaction with a saline. For this, the applicator must be bent. To use the heating pad re-wrapped into the cloth and are placed in boiling water for 15 minutes. Salt heating is used not only to warm the body parts, but also for heating technology when working in the cold.
How to replace the medical warmer?
The easiest way to warm up the sore place, if there is no heights at hand - to replace it with an ordinary plastic bottle with hot water. In order not to burn, you need to wind the bottle with several layers of fabric. You can not pour very hot water, as the bottle will start melting. The only minus is a small area of \u200b\u200bwarming.
You can independently make a tissue sac with salt. To do this, it is necessary to heat it and pour into the bag, evenly distributed there. Such a homemade heater saves heat for a long time. Instead of salt, you can use sand.
Also well warmed the sick place mustard plasters. This therapeutic agent contains a mustard seed powder. The mechanism of action of mustard pieces is to irritate the skin mustard, which leads to an increase in blood circulation, as a result of which the extension of blood vessels occurs. Mountains are used, pneumonia, osteochondrosis and pain in the muscles. Contraindications to mustard pieces are damaged skin, allergies to components, body temperature above 37 degrees.
You can use traditional medicine. For example, cook the potatoes, missed it and fill in a simple sock. If you need to warm the nose, you can use boiled eggs wrapped in several layers of fabric. As cool, each layer is cleaned.
Good day! In St. Petersburg, cloudy weather is held for a week, alas, but outside the window is raw and dark. Cook the cold is simpler. If you feel no matter, it will help to return the cheerful condition to help the dry heater, which is very simple.
What are the advantages of dry heating?
She also keeps heat for a long time, but does not burn. As a filler, you can use a stone salt, cherry bones, wheat grains, shells from nuts. You can apply a few drops of eucalyptus or lavender aromatic oil. Each filler has its time heating and heat recovery. Compared with rubber heating, the dry ground is much easier, so it can be used to use small children without fear. It can also use her girls, as warm compress, to relieve pain. The dry heater from the shells of nuts or berry bones has an uneven surface that can be used in the treatment of flat-refining or as a massager.
I sewed my heating for the goal of warming. In winter, I sometimes have an angina and in the early stages of the disease I am very helping the heating of the throat. In addition, at any time of the year, my legs are always ice (such a feature of the body, even if on the street +30 heat). It prevents from the fall or just to sit behind the computer monitor when the legs are in the same position on the cold floor.
Therefore, I decided not to throw away the shell from almonds and cedar nuts, but carefully postpone them on good goals. After a few months, my cherished pouch was full and implemented in new application.
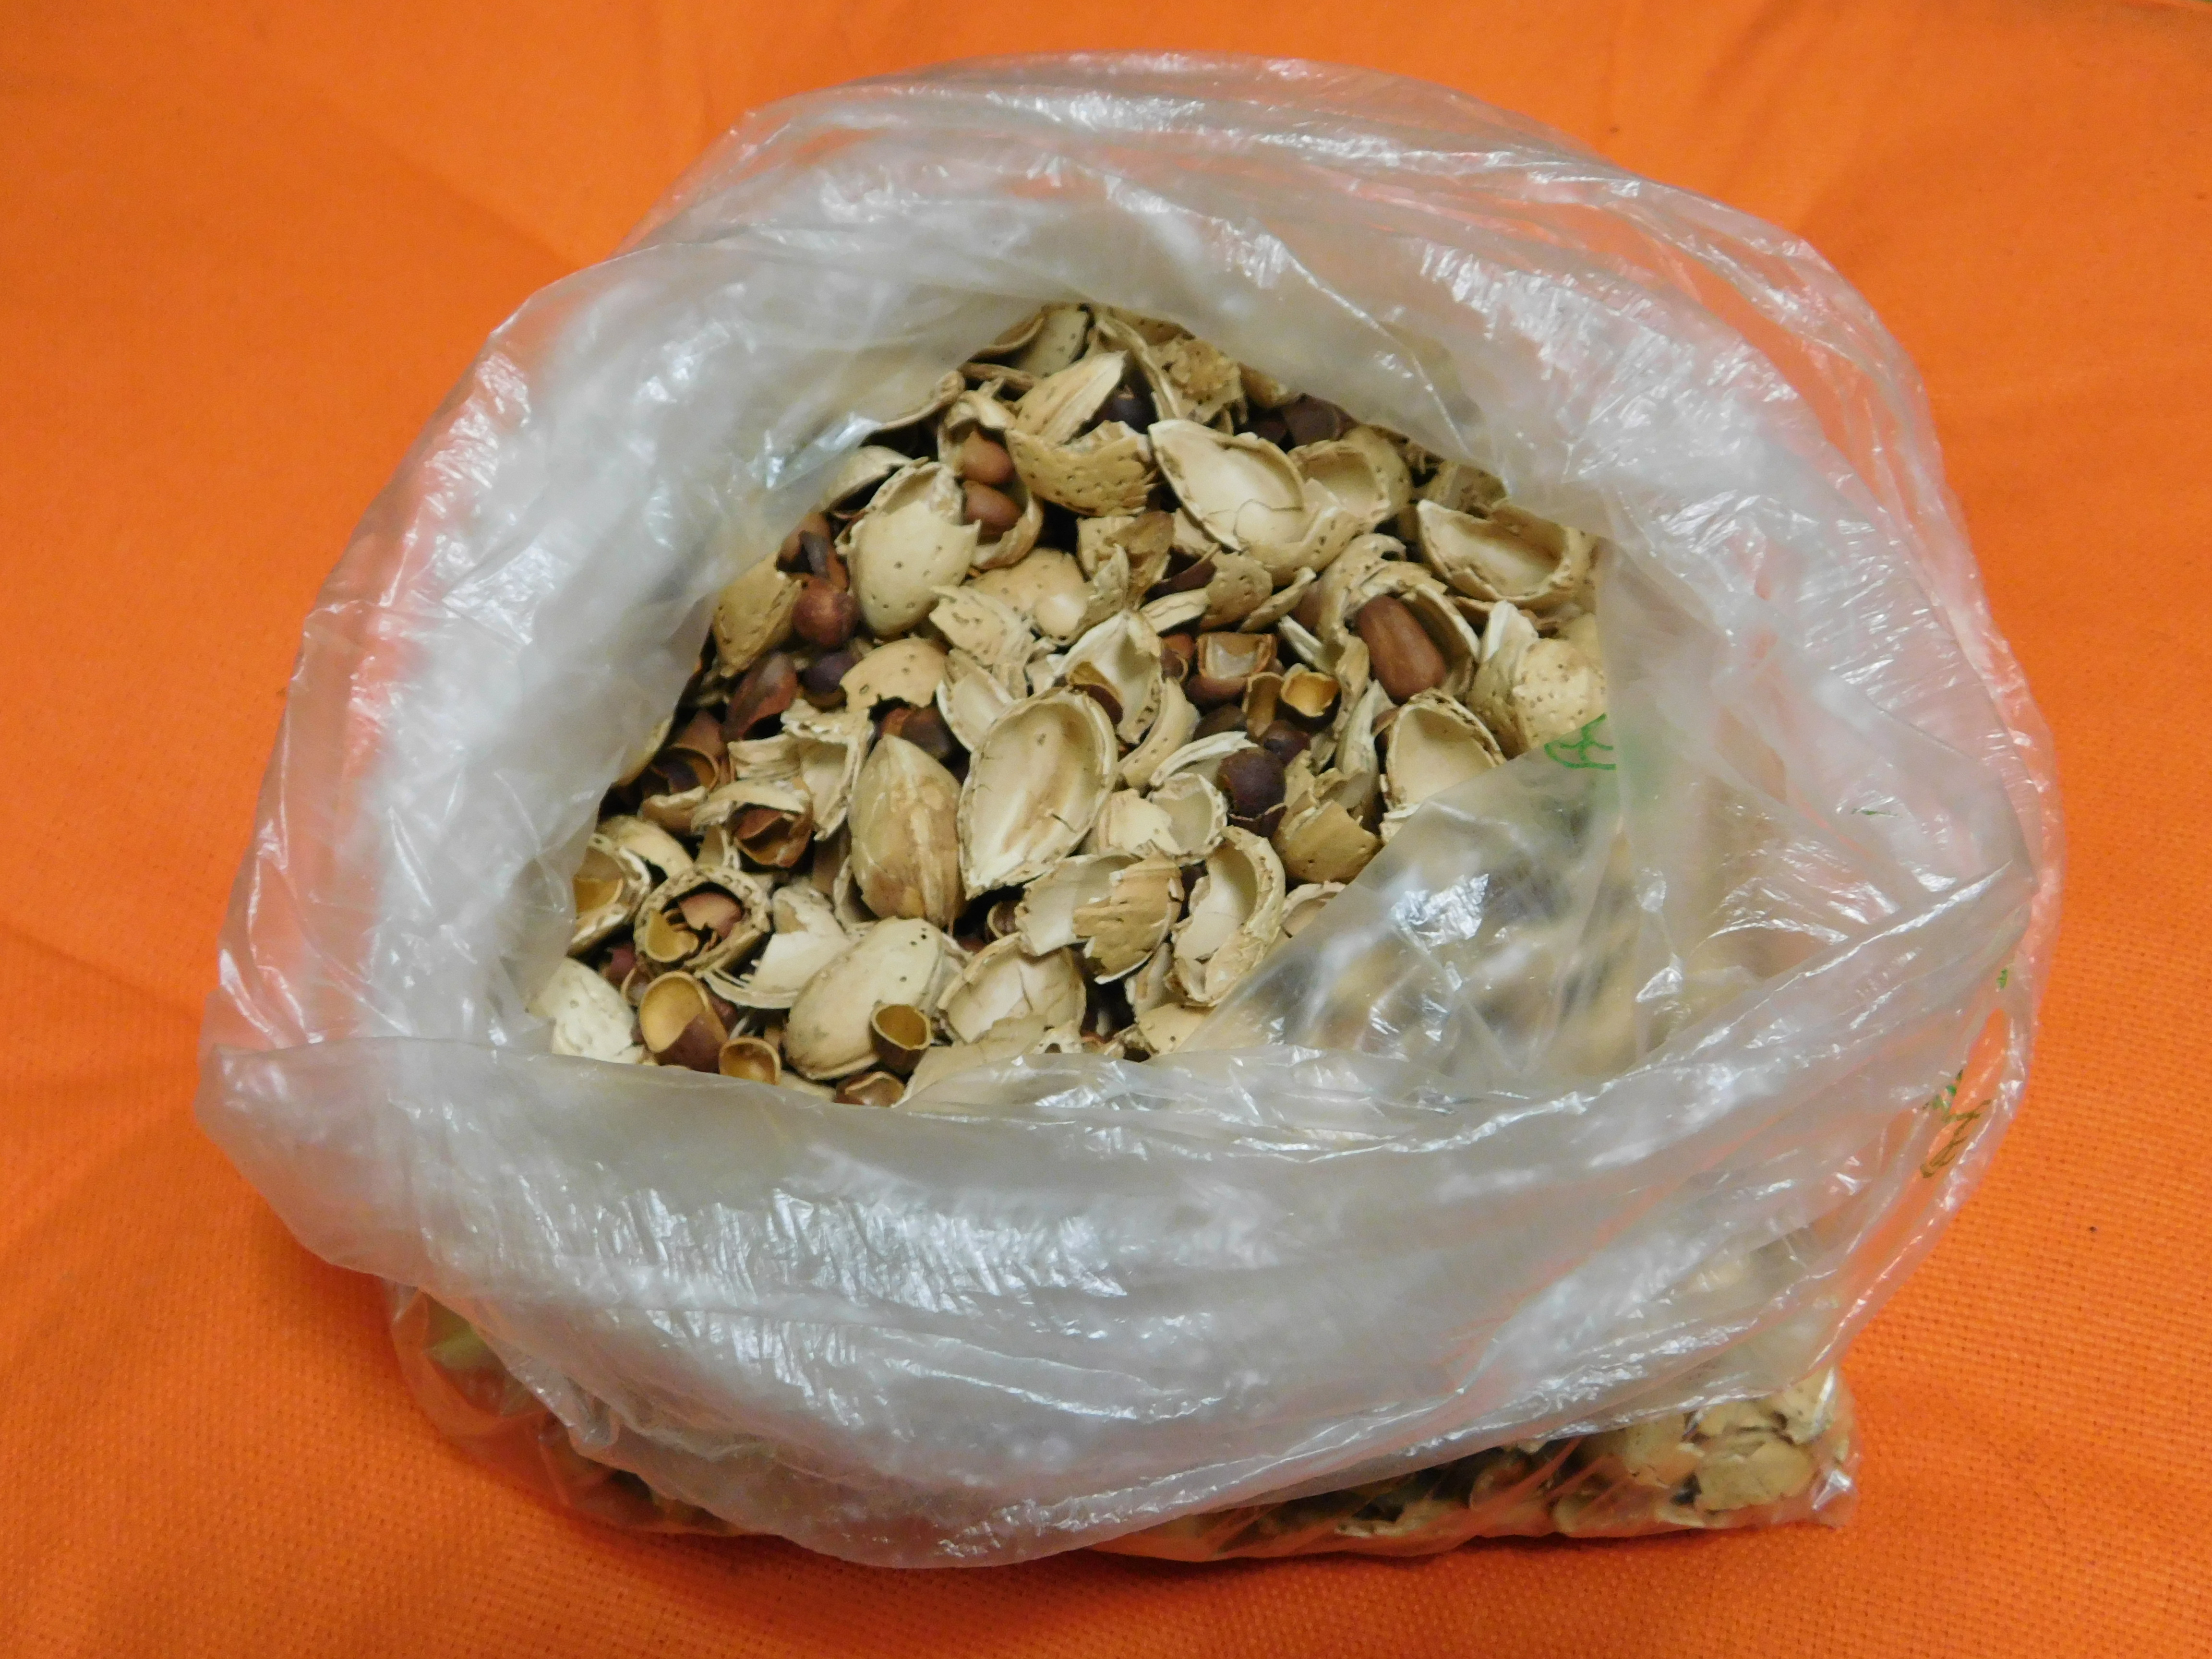
Be sure to pledge a nut shell in the oven so that insects do not start it!
To create a dry heating, you will need a filler and sewing minimum:
- any fabric except synthetics;
- threads;
- needles;
- scissors;
- any button, except for plastic;
- sewing machine or your hands.

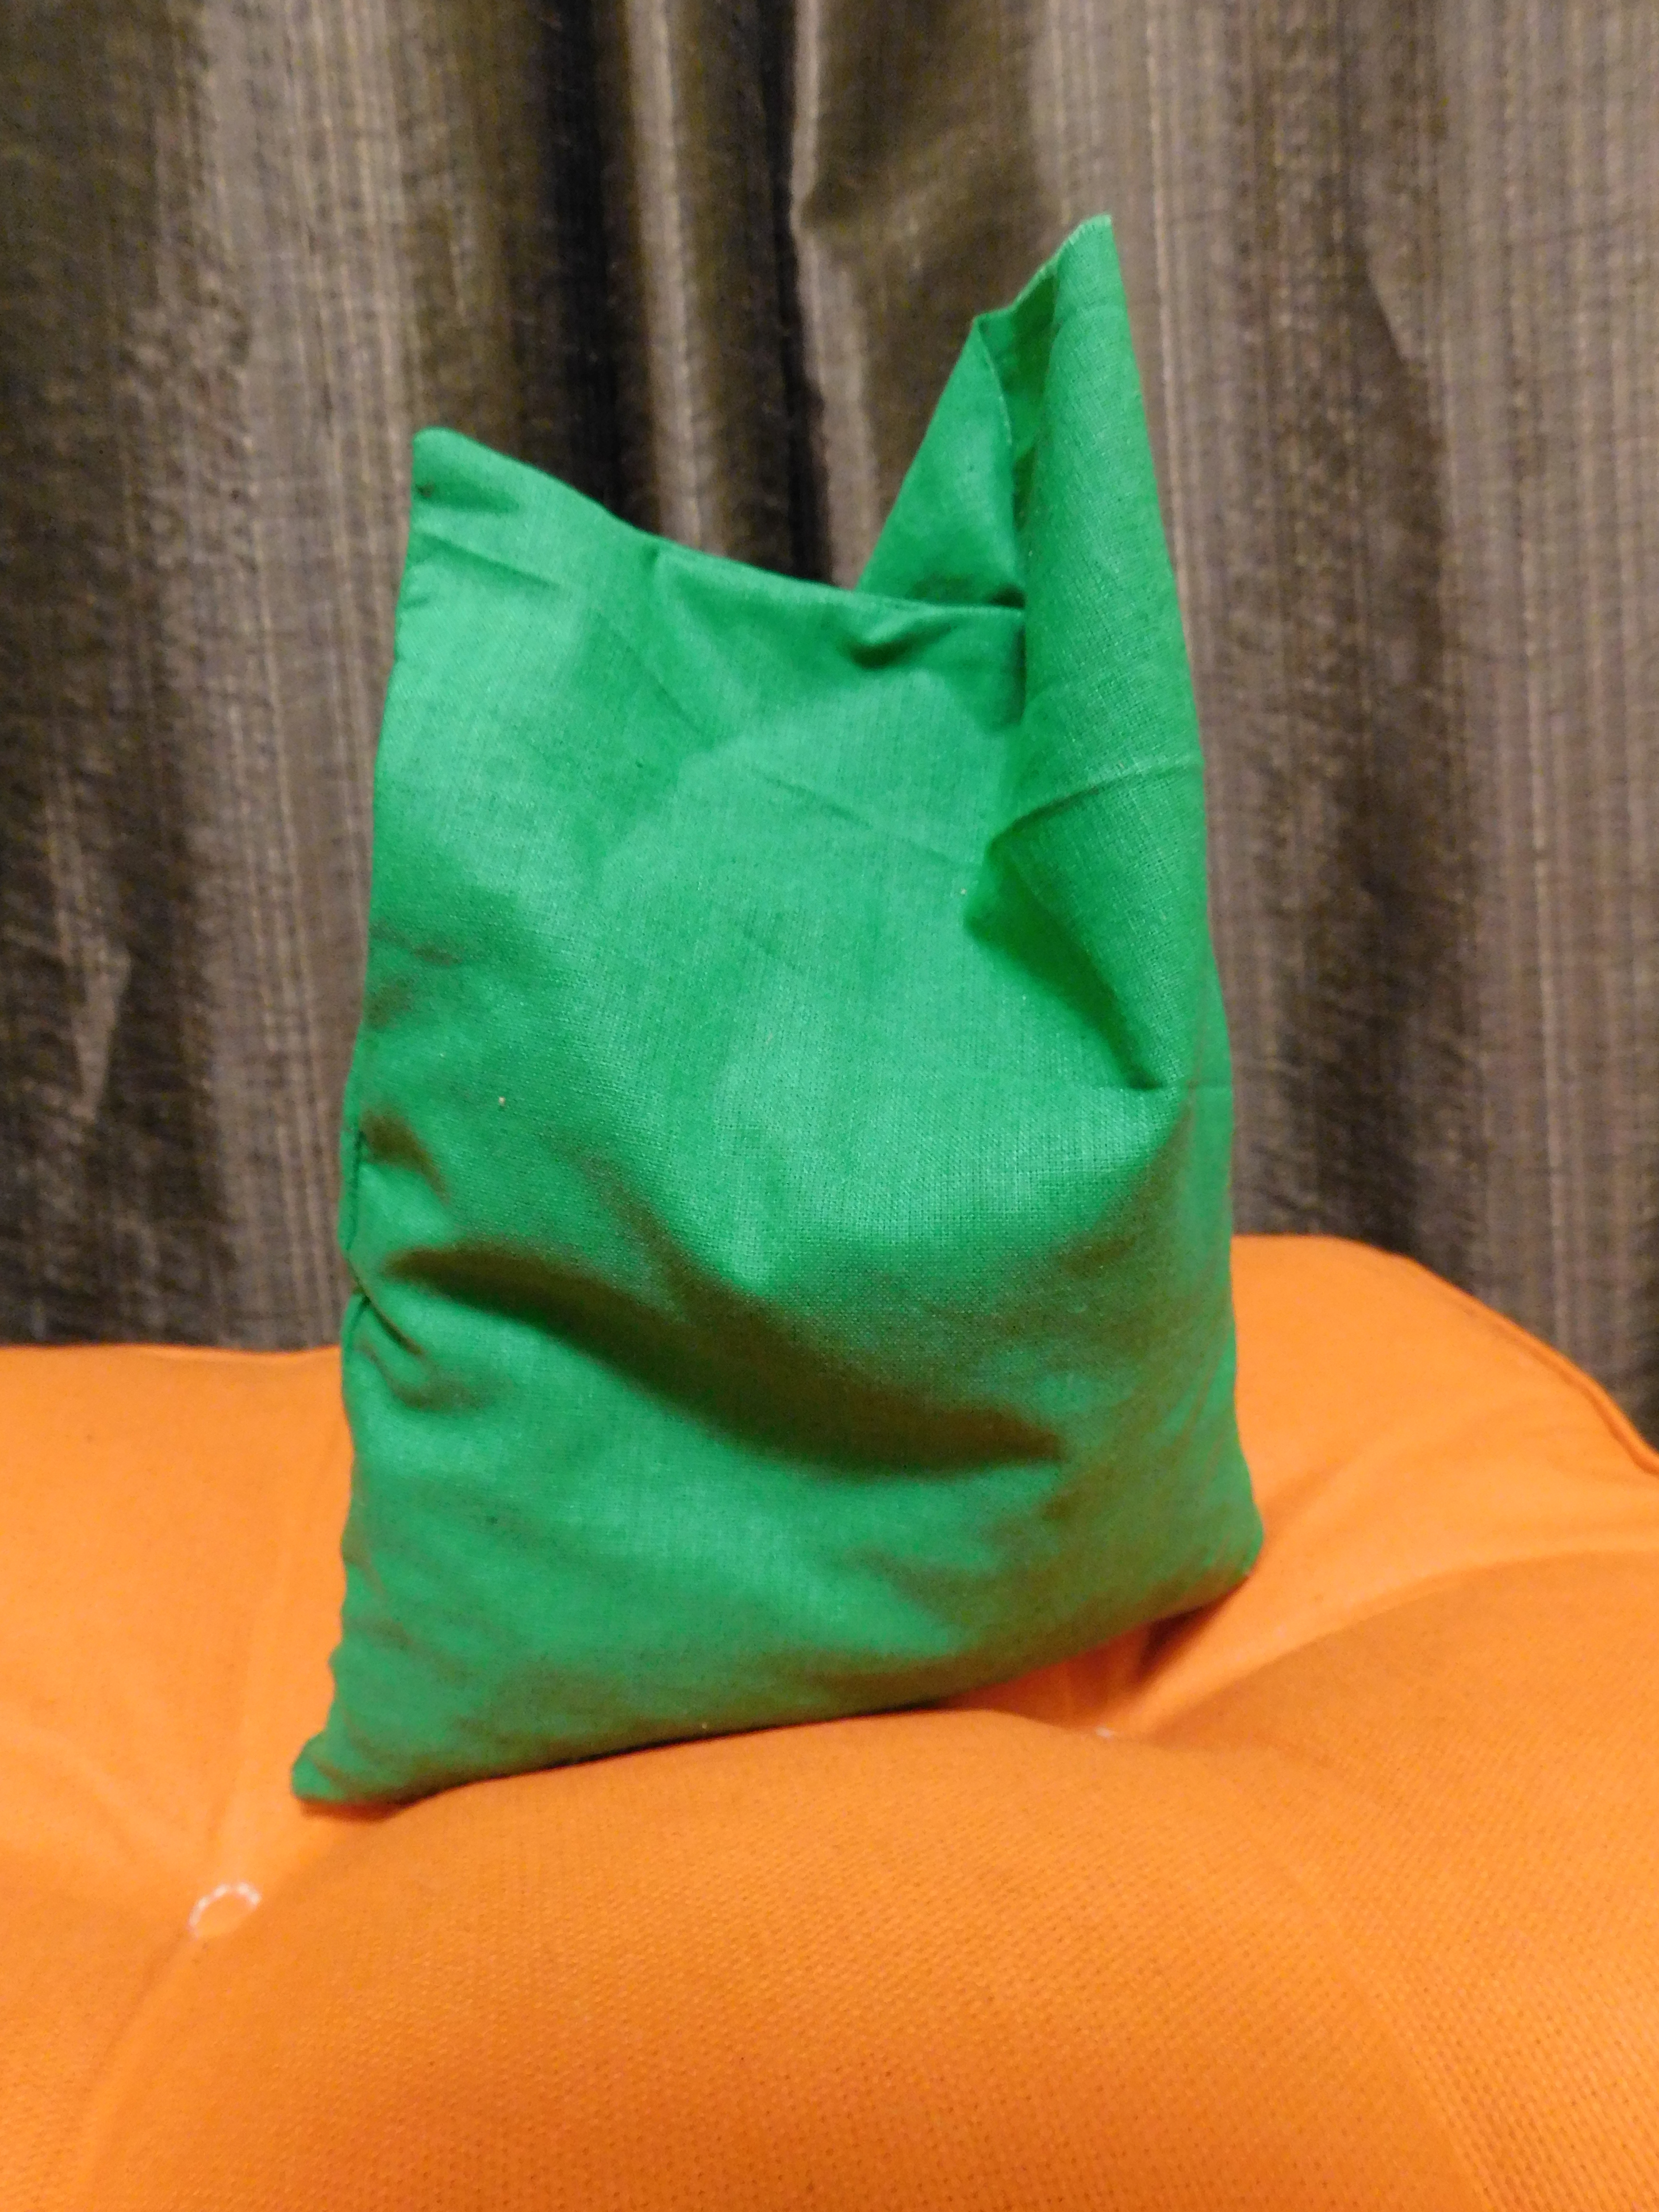
For a bag, I chose the most common cotton tissue of green. We fold the fabric in half the front side inside and cut the rectangle from the material of the desired size. I take 15 * 20 cm, do not forget about the allowances on the seams. 
We sew around the perimeter of the rectangle with a conventional straight line with a minimum stitch length, leaving a small hole in order to pour the shell. Cut off four straight corners so that they do not be filmed. Soak on the front, forming smooth corners along the edges. Next, it's small - you need to pour filler. Outcome:
After that, we sew a hole, we pass again to the top edge of the bag. That's what we should turn out in the end:

Sew a bag for filler elementary and die even a schoolboy. Step The second is the creation of the so-called "pillowcase" for the heating. "Pillowcase" will prevent the pouch pollution and decorate your interior. I decided to approach this stage creatively. In winter, I embroidered this bullfding on flax and could not find it use:

Snacking I embroidered the cross on this scheme:

We select our "pillowcase" for the heating. It is better to leave the stock for the bag freely placed inside.

We first process the upper edge, then we make side seam. 
Carefully restlessly:

Last but we flash the bottom, cut the straight corners and turn on the front side. "Pillowcase" is ready:

We try on our warmer:


Send a button with a back to close the heating from above. You can also make a cord or simply tie to the tape.
The final stage is the washing of our "pillowcase" so that it takes out its final appearance. Lightly ran out from the wrong side in soapy water and leave to dry in a horizontal position:

Long-awaited result:

The bag for the little things is sewn by the same way. Inside - notepad, for New Year's desires ^. ^

For heating the heating in the microwave is enough three minutes for medium power, heat keeps around an hour, the smell from the shell is stunning). In the oven I have not yet tried, but I think if you hold a little longer, the heat will save for several hours, because The cedar shell heats up more difficult.
Keep it up! Dry boards will not let you freeze in the cold, you can read books with cold winter evenings and do not worry on trifles.

Have a nice week, dear readers! Dress up the weather and let the heat on the soul always stay with you 🙂
In any weather and bad weather -
OVS9NKA.
Hello to all. Girls, hunters, tourists-in general, who read this article.
Today I will share my idea - how can I make a warmer for hands from a simple pencil.
Such a heater can give a very good heating - with relatively small consumption. (Specifically, I will succeed below).
This article is not an instruction on the assembly of the heating of hands, and only a demonstration of my idea, its incarnation and the fact that it turned out. Please note your safety in your hands.
As a basis for such a height, the most ordinary graphite pencil (here you can experiment a little with the length and thickness of the rod).
It came up the most common for 8-15 rubles in wooden clothes (it is possible in more expensive, there is a dense tree-better heat transfer + -3-5 degrees difference) with the same consumption.
As it turned out - glossy (eco), it is not to be stuffed, no longer spend the current.
Now it was determined with the pencil-vibral length and the necessary heating.
calked it to the desired diameter (paint was considered-reduced the heat sink) - made additional cuts.
Here, this case itself was revealed to the neck (without a shell) - it is very strong - usually + 15c to the fact that in the shell, but without it it becomes very vulnerable (brittle).
I tried different options for protecting the rod .. a simple heat shrinkage to various tubes. Many-sense a little. Little. Having left him in his native sheath, just did the maximum as possible.
The next step was connected to USB wires (there was not everything is so simple to solder .. it is clear).
I tried two such options for connecting the wire to graphite.

Both options I liked (in my own way). If you know your best connection option to graphite-write, it will be interesting.
After connecting the wire, everything pasted as a heat shrinkage.

It turned out such a cockpit from panibank.
At the time of the creation of this article, it worked more than 150 hours (on average 3-6, depending on the chalk). The head works clearly, even the whole well.
The heater is that in the photo and in the video warming to 70s at 0.7-0.8a-if honestly it is a lot for hands (even at the temperature of the surrounding subtrade 0-2C, it gave out 50 + 55s-for me too much (but this is a test version)
Maximum that I managed to squeeze with a good ratio + 45 + 50c or + 30 + 35 measurements at 0-2 (for me the most comfortable temperature). It is at 5V-0.5-0.6A.
Length of the wire is the question of convenience (the main thing about the powerful thing that would pull such a dumper)
The shell is also a question of aesthetics and convenience, the main thing that would have a good thermal conductivity.
Well, in principle, and all expensive guilt readers work and warms.

 How to return the love of her husband to his wife - Tips of the psychologist
 Why you can not give icons